Building a portfolio with CMS using Next.js 13, Outstatic and Tailwind CSS
Discover step-by-step instructions, helpful tips, and best practices. Build a high-performance site with Next.js's powerful features and leverage Outstatic for seamless deployment and hosting.
Whether you're a freelancer, a jobseeker, or simply looking to showcase your work, having a well-designed portfolio site is essential in today's digital landscape. In this article, we'll guide you through the steps of leveraging Next.js's powerful features and combining them with the seamless deployment and hosting capabilities of Outstatic. By the end, you'll have all the tools and knowledge to create a stunning, high-performance Next.js static portfolio site that effectively highlights your skills and accomplishments. Let's dive in and elevate your online presence to new heights!
In addition to this blog, you will find a link to the project code in GitHub for free.
All the project code is available using this link or by using the button below.
Project overview
This project uses two main tools, which are Next.js and Outstatic
Next.js is a powerful React framework for building web applications. It provides server-side rendering, automatic code splitting, and simplified routing, making it easier to develop fast and scalable applications. With built-in features like static site generation and API routes, Next.js offers a seamless developer experience for building modern web projects.
Outstatic is a tool designed for Next.js it gives us a full CMS and content editor UI allowing us to write posts for our portfolio that are integrated seamlessly with Next.js. Outstatic doesn't store data in a database, instead, it relies on the Markdown format and integrates with GitHub to push next blogs as .md files.
Creating the project
To create the Next.js project, make sure you have the latest version of Node.js installed. Then use the following command to create your next.js app. Make sure to use typescript and tailwind CSS to follow this project.
npx create-next-app@latestThen you need to install the project dependencies including you find below my package.json with all the project dependencies that you need to install.
{
  "name": "outstatic-portfolio",
  "version": "0.1.0",
  "private": true,
  "scripts": {
    "dev": "next dev",
    "build": "next build",
    "start": "next start",
    "lint": "next lint"
  },
  "dependencies": {
    "@tiptap/pm": "^2.0.3",
    "@types/node": "20.1.0",
    "@types/react": "18.2.6",
    "@types/react-dom": "18.2.4",
    "autoprefixer": "10.4.14",
    "clsx": "^1.2.1",
    "eslint": "8.40.0",
    "eslint-config-next": "13.4.1",
    "keen-slider": "^6.8.5",
    "next": "13.4.1",
    "outstatic": "^0.0.36-canary.1",
    "postcss": "8.4.23",
    "react": "18.2.0",
    "react-dom": "18.2.0",
    "remark": "^14.0.2",
    "remark-html": "^15.0.2",
    "tailwindcss": "3.3.2",
    "typescript": "5.0.4"
  }
}
Setting up Outstatic
.env file
By default, Oustatic looks for certain environment variables to work correctly. To do that, you need to create a .env file or .env.local on your root project directory.
The first three environment variables will require you to create them from your GitHub account https://github.com/settings/developers this is done by creating a new OAuth app and copying the credentials to your .env file.
OST_GITHUB_ID=// Your GitHub ID
OST_GITHUB_SECRET=// Your GitHub Secret
OST_TOKEN_SECRET=// Your Token Secret
OST_REPO_SLUG=// Your repo slug aka the last part of your repo link
OST_REPO_BRANCH=// branch name by default is main
OST_CONTENT_PATH=// Path do content  by default is outstatic/content
Create the Outstatic endpoint & page
The next step is to export Oustatic as an API endpoint and create the Oustatic page. All you need to do is to copy the following code.
In src/pages/outstatic/[[...ost]].tsx
import 'outstatic/outstatic.css'
import { Outstatic, OstSSP } from 'outstatic'

export default Outstatic

export const getServerSideProps = OstSSP
In src/pages/api/outstatic/[[...ost]].tsx
import { OutstaticApi } from 'outstatic'
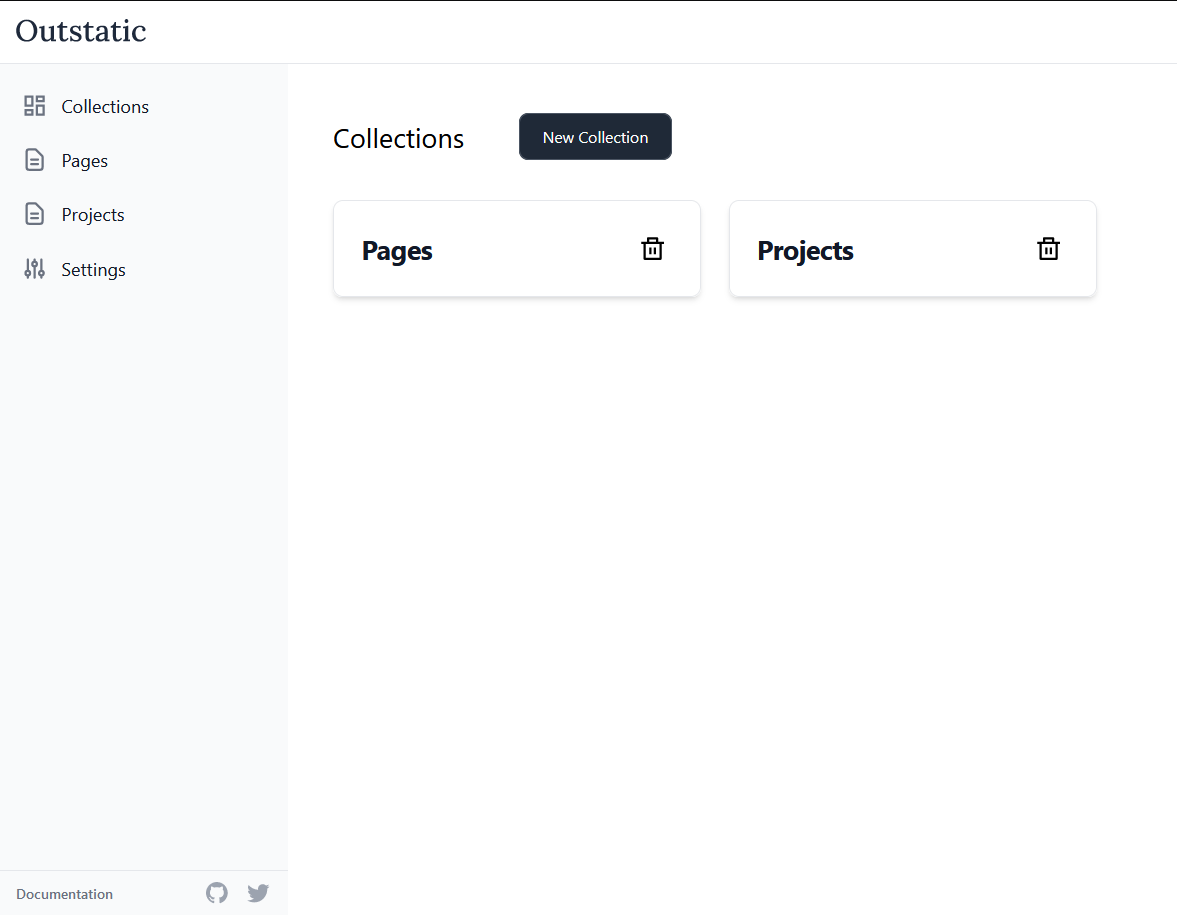
export default OutstaticApiAll we done here is to load oustatic page and expose the api. now you should access your Oustatic dashboard by using the link localhost:3000/outstatic
Understanding layouts and the app directory
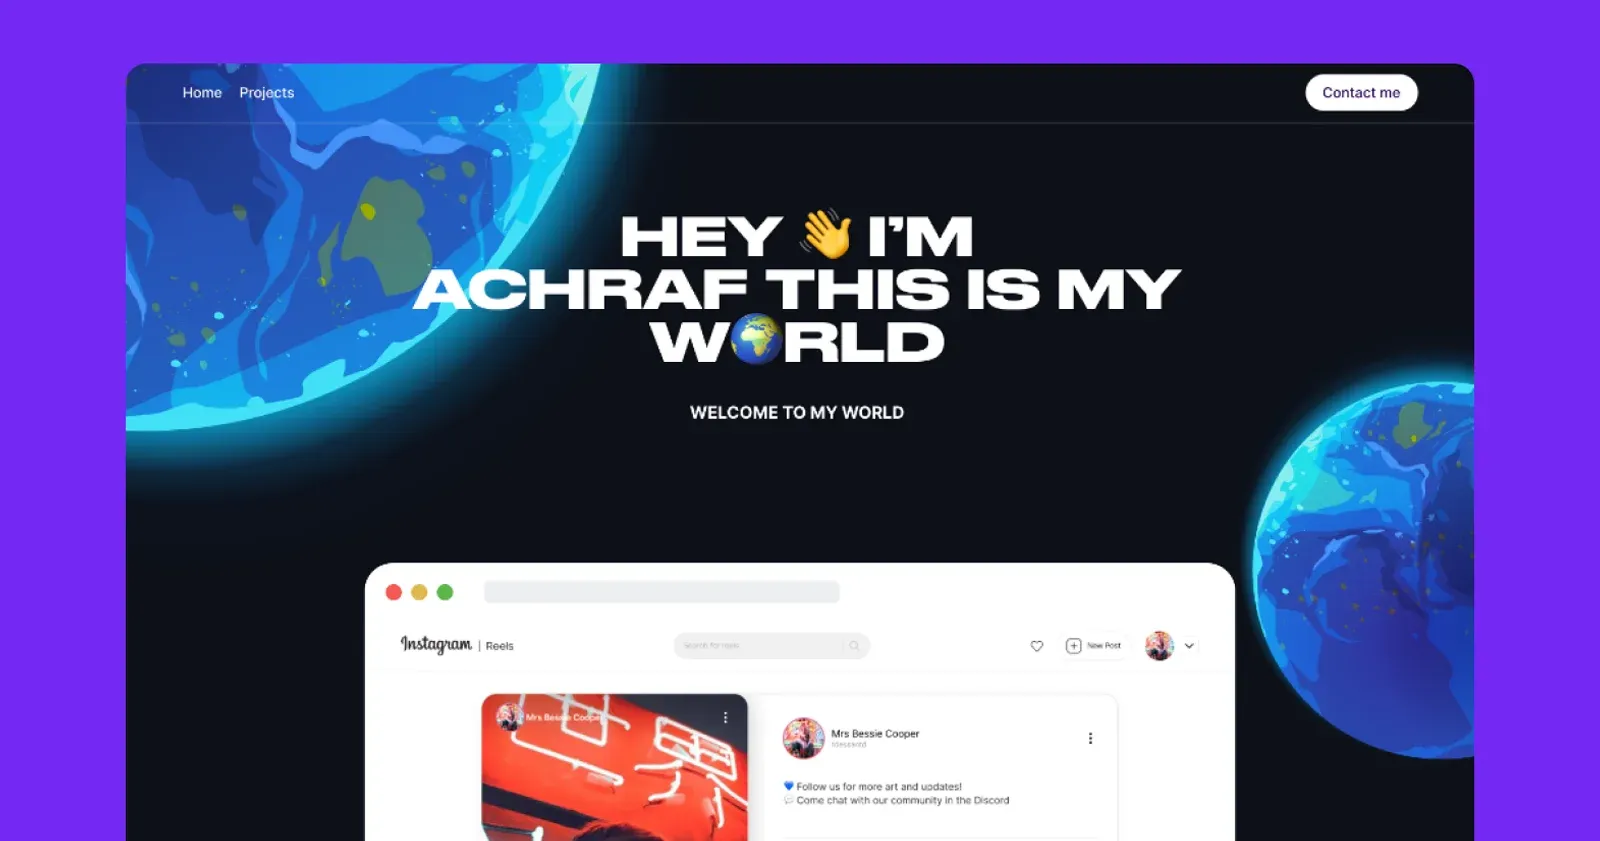
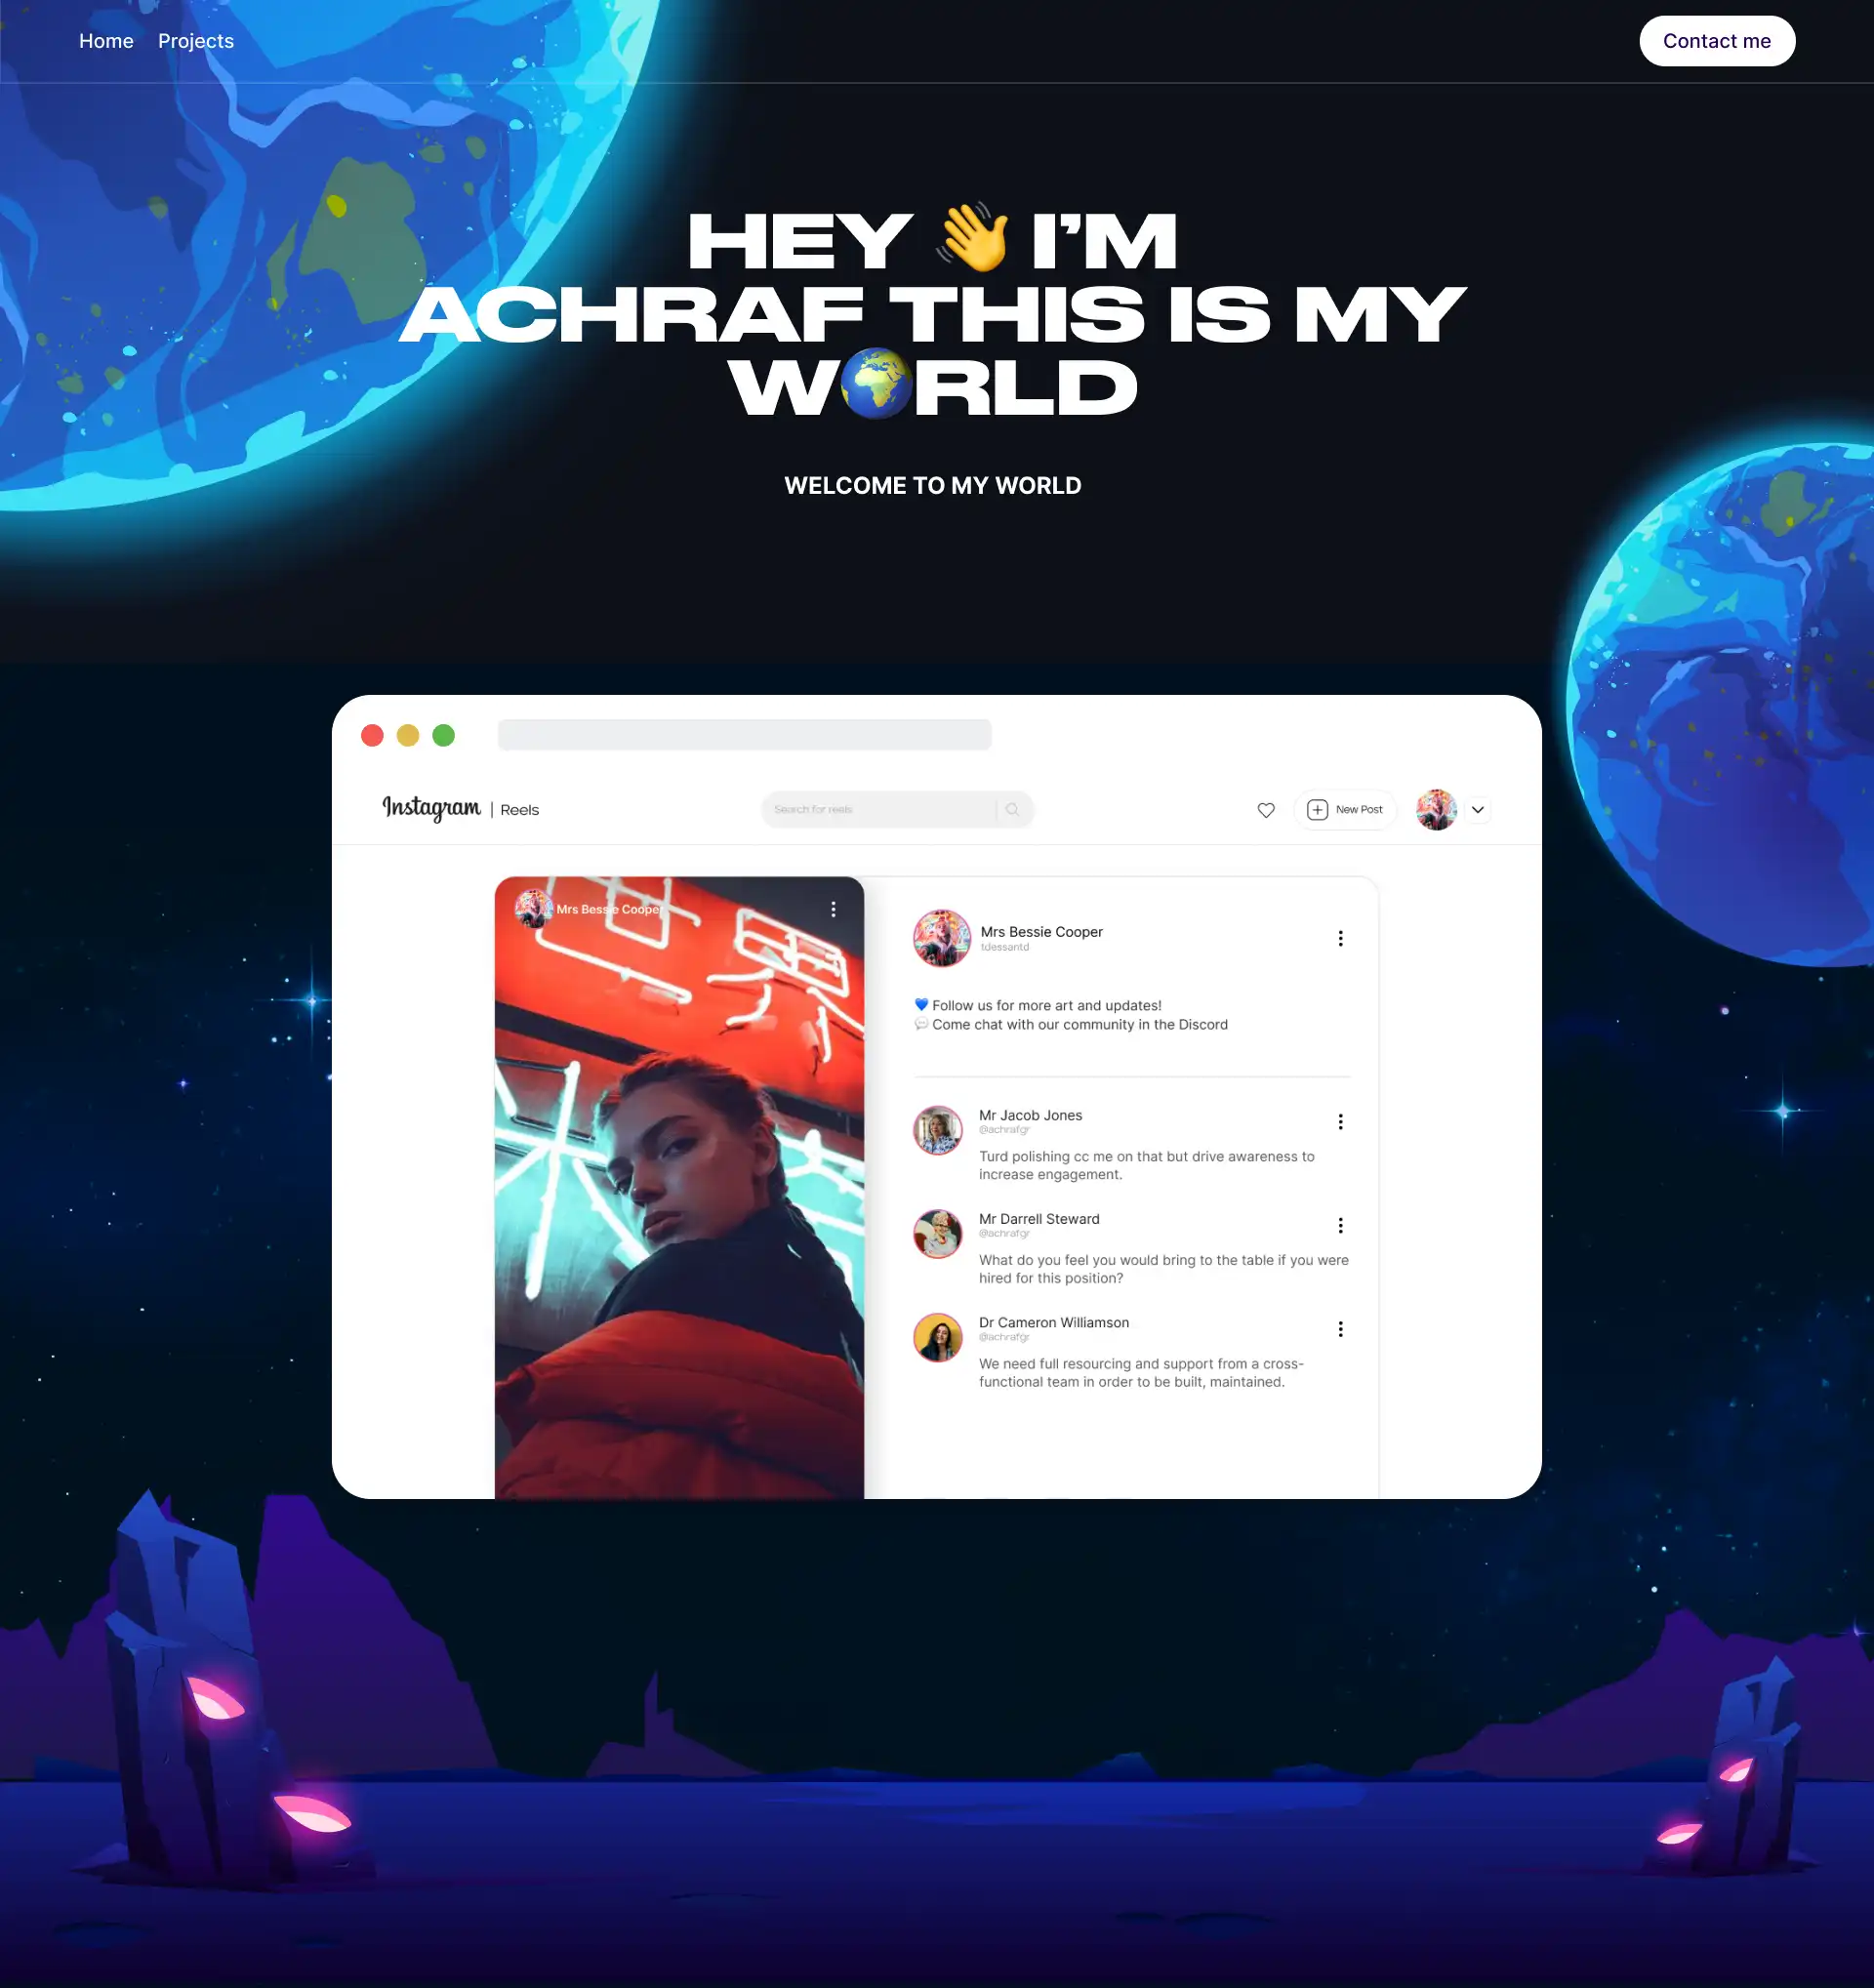
Next.js 13 brings an important shift from the pages to the app directory. Which is a new file-base routing model. Layouts are the main addition here, they wrap the routes underneath it. Allowing us to easily share components in multiple routes.
In this project, I added a Navbar and Footer components in my layout.tsx. Now, all routes will display the Navbar and Footer automatically.
import "./globals.css";
import { Navbar, Footer, HeroGraphics } from "@/components";
import { inter, DrukWide } from "./fonts";

export const metadata = {
  title: "Achraf Garai Portfolio 🚀 | this is my W🌍RLD",
  description:
    "Online protfolio example made with NextJS 13 and Outstatic, deployed on Vercel",
  openGraph: {
    images: "/graphics/og_image.webp",
  },
};

export default function RootLayout({
  children,
}: {
  children: React.ReactNode;
}) {
  return (
    <html lang="en">
      <body className={inter.className}>
        <div className="relative overflow-hidden">
          <Navbar />
          <div className="mx-auto max-w-7xl p-5">{children}</div>
          <Footer />
          <HeroGraphics />
        </div>
      </body>
    </html>
  );
}
Top level layout
Building the home page
In home page, I use Outstatic to fetch all documents, here we can specify the attributes we want. I then map through the documents to render a list of cards.
export default async function Home() {
  const allPosts = getDocuments("projects", [
    "title",
    "publishedAt",
    "slug",
    "coverImage",
    "description",
  ]) as unknown as Project[];

  return (
    <main className="p-8">
      <Hero projects={allPosts} />
      <div className={cn(s.root)}>
        {allPosts.map((project) => (
          <ProjectCard
            project={project}
            className={cn(s.gridItem)}
            key={project.slug}
          />
        ))}
      </div>
    </main>
  );
}

export const revalidate = "force-cache";
The ProjectCard.tsx component accepts a prop of Project type, which is defined in types directory.
Using the Image components by Next.js I render a cover image from the props along with the title and description.
In this, and the single project page, a cont named revalidate is exported this essentially test Next.js when to generate this page. Setting it to force-cashe tells Next.js to render a static page at build time, as opposed to server-side-rendering that renders the page on every request.
In addition to that, I apply a random background colors to each card.
function ProjectCard({
  project,
  className,
}: {
  project: Project;
  className?: string;
}) {
  const randomIndex = Math.floor(Math.random() * CARD_COLORS.length);
  const randomColor = CARD_COLORS[randomIndex];
  const dynamicStyles = {
    backgroundColor: randomColor.value,
  };

  return (
    <Link
      href={`projects/${project.slug}`}
      className={cn(s.root, className)}
      style={dynamicStyles}
    >
      <div className={cn(s.imageOuterWrapper)}>
        <div className={cn(s.imageInnerWrapper)}>
          <Image
            src={project.coverImage}
            fill
            alt={project.description}
            className="object-contain"
          />
        </div>
      </div>
      <div className={cn(s.cardInfo)}>
        <h2 className={cn(s.cardHeading)} style={DrukWide.style}>
          {project.title}
        </h2>
        <p>{project.description}</p>
      </div>
    </Link>
  );
}

export default ProjectCard;
Adding custom fonts
Next.js.13 gives us a great package that makes working with fonts simpler. In this example below, I used next fonts to load fonts from Google fonts and from a Woff file.
import { Inter } from "next/font/google";
import localFont from "next/font/local";

export const inter = Inter({ subsets: ["latin"] });

export const DrukWide = localFont({
  src: "./Druk Wide Bold.woff2",
  variable: "--font-drukwide",
});
Styling with Tailwind CSS
I used CSS modules that work by default in Next.js to apply tailwind styling to my design elements
.root {
  @apply mb-48;
}

.container {
  @apply flex flex-col gap-4 items-center mx-auto my-24 text-center max-w-4xl  mb-24;
}

.heading {
  @apply text-5xl font-semibold uppercase md:text-7xl;
}
Deploying to Vercel
Deploying to Vercel is as simple as logging in to the platform and creating a new project, then choosing your GitHub repository.
Make sure, here, to add the values from .env file before deploying your app.
Get the project code
All the project code is available using this link or by using the button below.