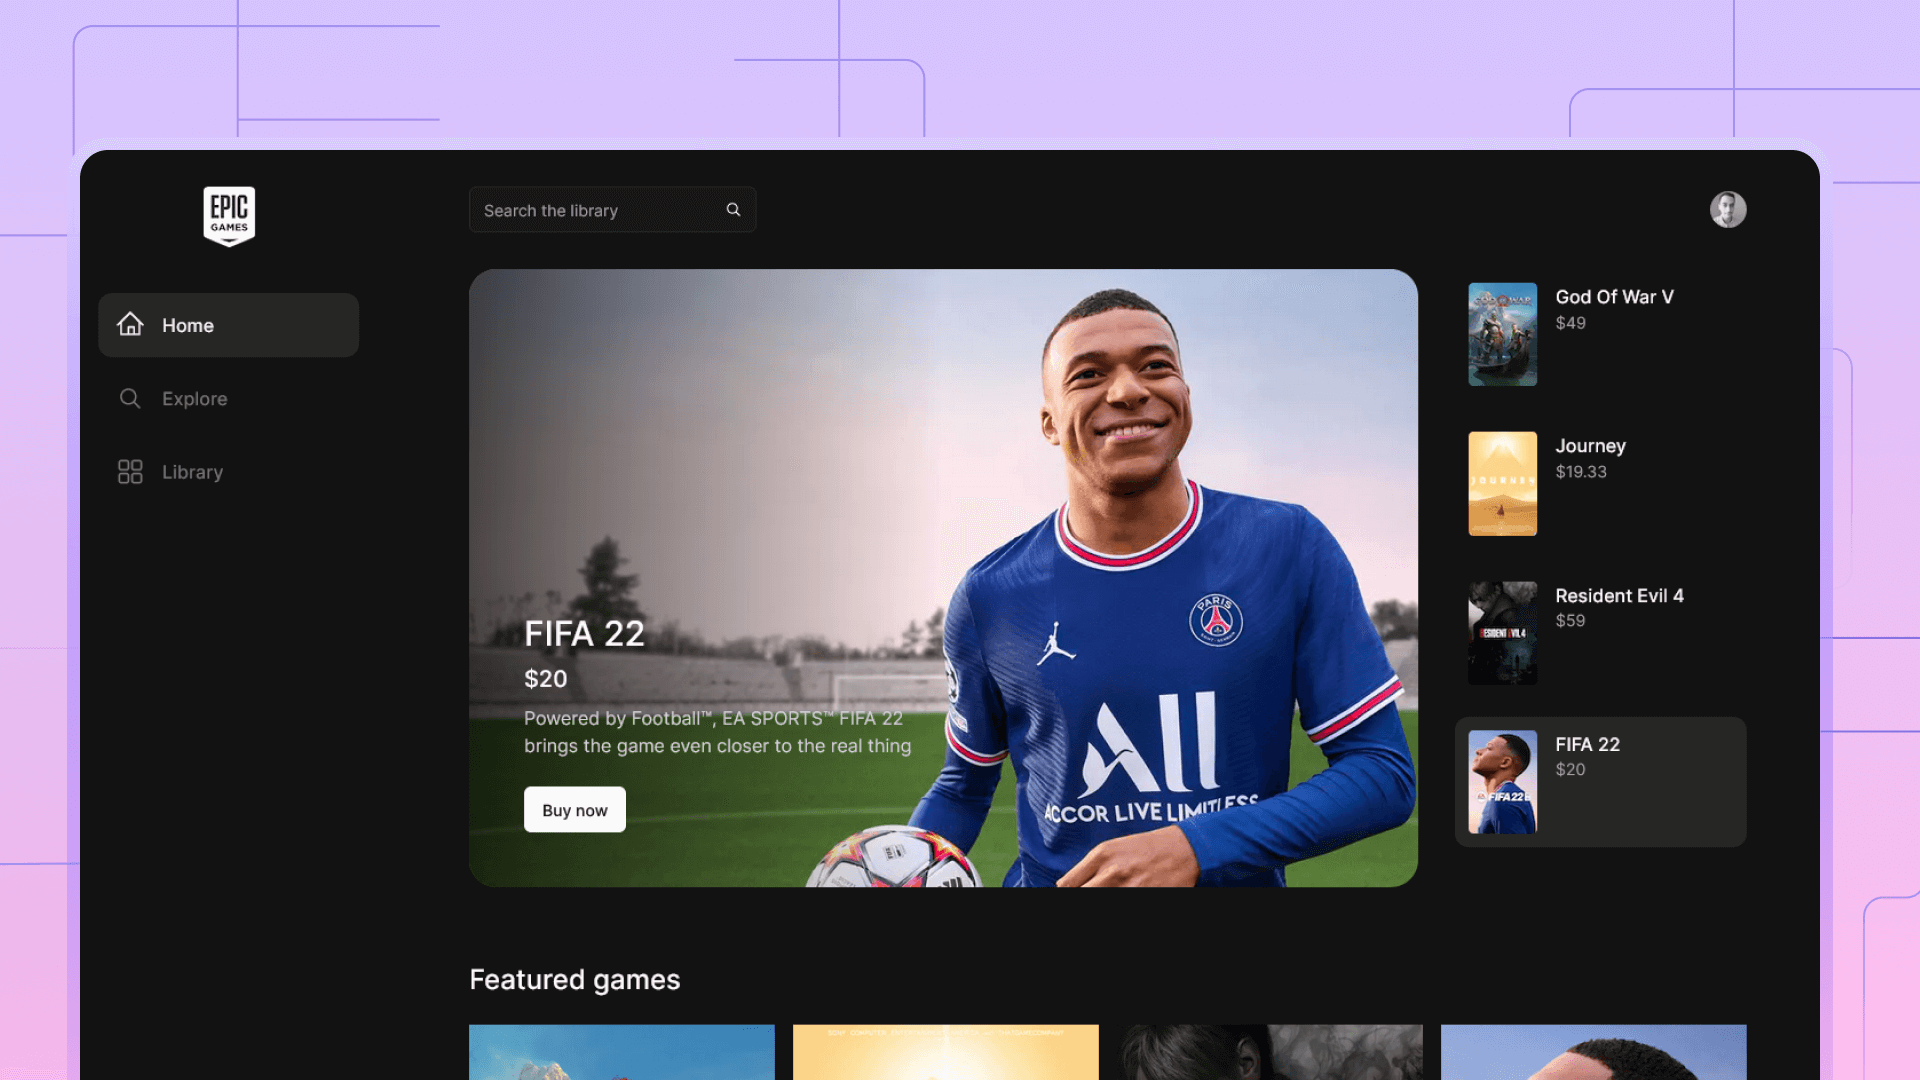
Building a user management app with NextJS, DrizzleORM and React email
In this tutorial, we will explore building a simple user management app that allows admins to send email invitation and save users to our database using drizzle ORM.
In this guide, we'll delve into the creation of a straightforward user management application, empowering administrators to effortlessly send email invitations and securely store user data within our database, leveraging the capabilities of the Drizzle ORM.
To enhance the visual appeal of our project, we'll employ ShadcnUI, UI library, along with the versatile Tailwind CSS.
As per our tradition, you can find the complete source code for the application freely accessible on GitHub below.
Kicking off the project by setting up the latest Next.js app using create-next-app.
npm run dev
# or
yarn dev
# or
pnpm dev
# or
bun dev
Setting up Postgres with Drizzle
In the initial phase of this tutorial, we'll configure a Postgres database and Drizzle ORM by creating the user model. We begin by installing the Drizzle Postgres package:
npm i drizzle-orm postgres
npm i -D drizzle-kit
To connect to Postgres, set up a local Postgres database server by downloading Postgres from the official website. Next, create a drizzle.config.ts file to configure Drizzle for our project:
import type { Config } from "drizzle-kit";
import * as dotenv from "dotenv";
dotenv.config();

export default {
	schema: "./src/schema/*",
	out: "./src/drizzle",
	driver: "pg",
	dbCredentials: {
		connectionString: process.env.DB_URL,
	},
} satisfies Config;
Continuing with Drizzle, initialize and export our client. Note that the query client requires a schema object, where we define our model or tables in SQL language:
import { drizzle } from "drizzle-orm/postgres-js";
import { migrate } from "drizzle-orm/postgres-js/migrator";
import postgres from "postgres";
import * as schema from "@/schema";

// for migrations
const migrationClient = postgres(process.env.DB_URL || "", { max: 1 });

migrate(drizzle(migrationClient), { migrationsFolder: "drizzle" });

// for query purposes
const queryClient = postgres(process.env.DB_URL || "");
export const db = drizzle(queryClient, { schema });
For a better development experience, update the package.json file and add Drizzle commands:
	"scripts": {
		"db:push": "drizzle-kit push:pg",
		"db:studio": "drizzle-kit studio",
		"db:generate": "drizzle-kit generate:pg",
        }
Lastly, define our model in the schema file specified in the config:
export const users = pgTable("users", {
	id: serial("id").primaryKey(),
	firstName: varchar("first_name", { length: 256 }),
	lastName: varchar("last_name", { length: 256 }),
	email: varchar("email", { length: 256 }).notNull().unique(),
	avatar: varchar("avatar", { length: 256 }).default("default-avatar.svg"),
	createdAt: date("created_at").defaultNow(),
	status: statusEnum("status").notNull().default("pending"),
});
export type User = typeof users.$inferSelect;
Before applying changes, ensure you've added the .env file with the Postgres connection string. Once set up, update the schema and run the following commands to apply changes:
npm run db:generate
npm run db:push
npm run db:studio
Adding ShadcnUI
ShadcnUI offers a collection of easily customizable UI components for your projects. To incorporate the library, initiate it with the following command:
npx shadcn-ui@latest initOnce the initial setup is complete, you can seamlessly add any component using the command:
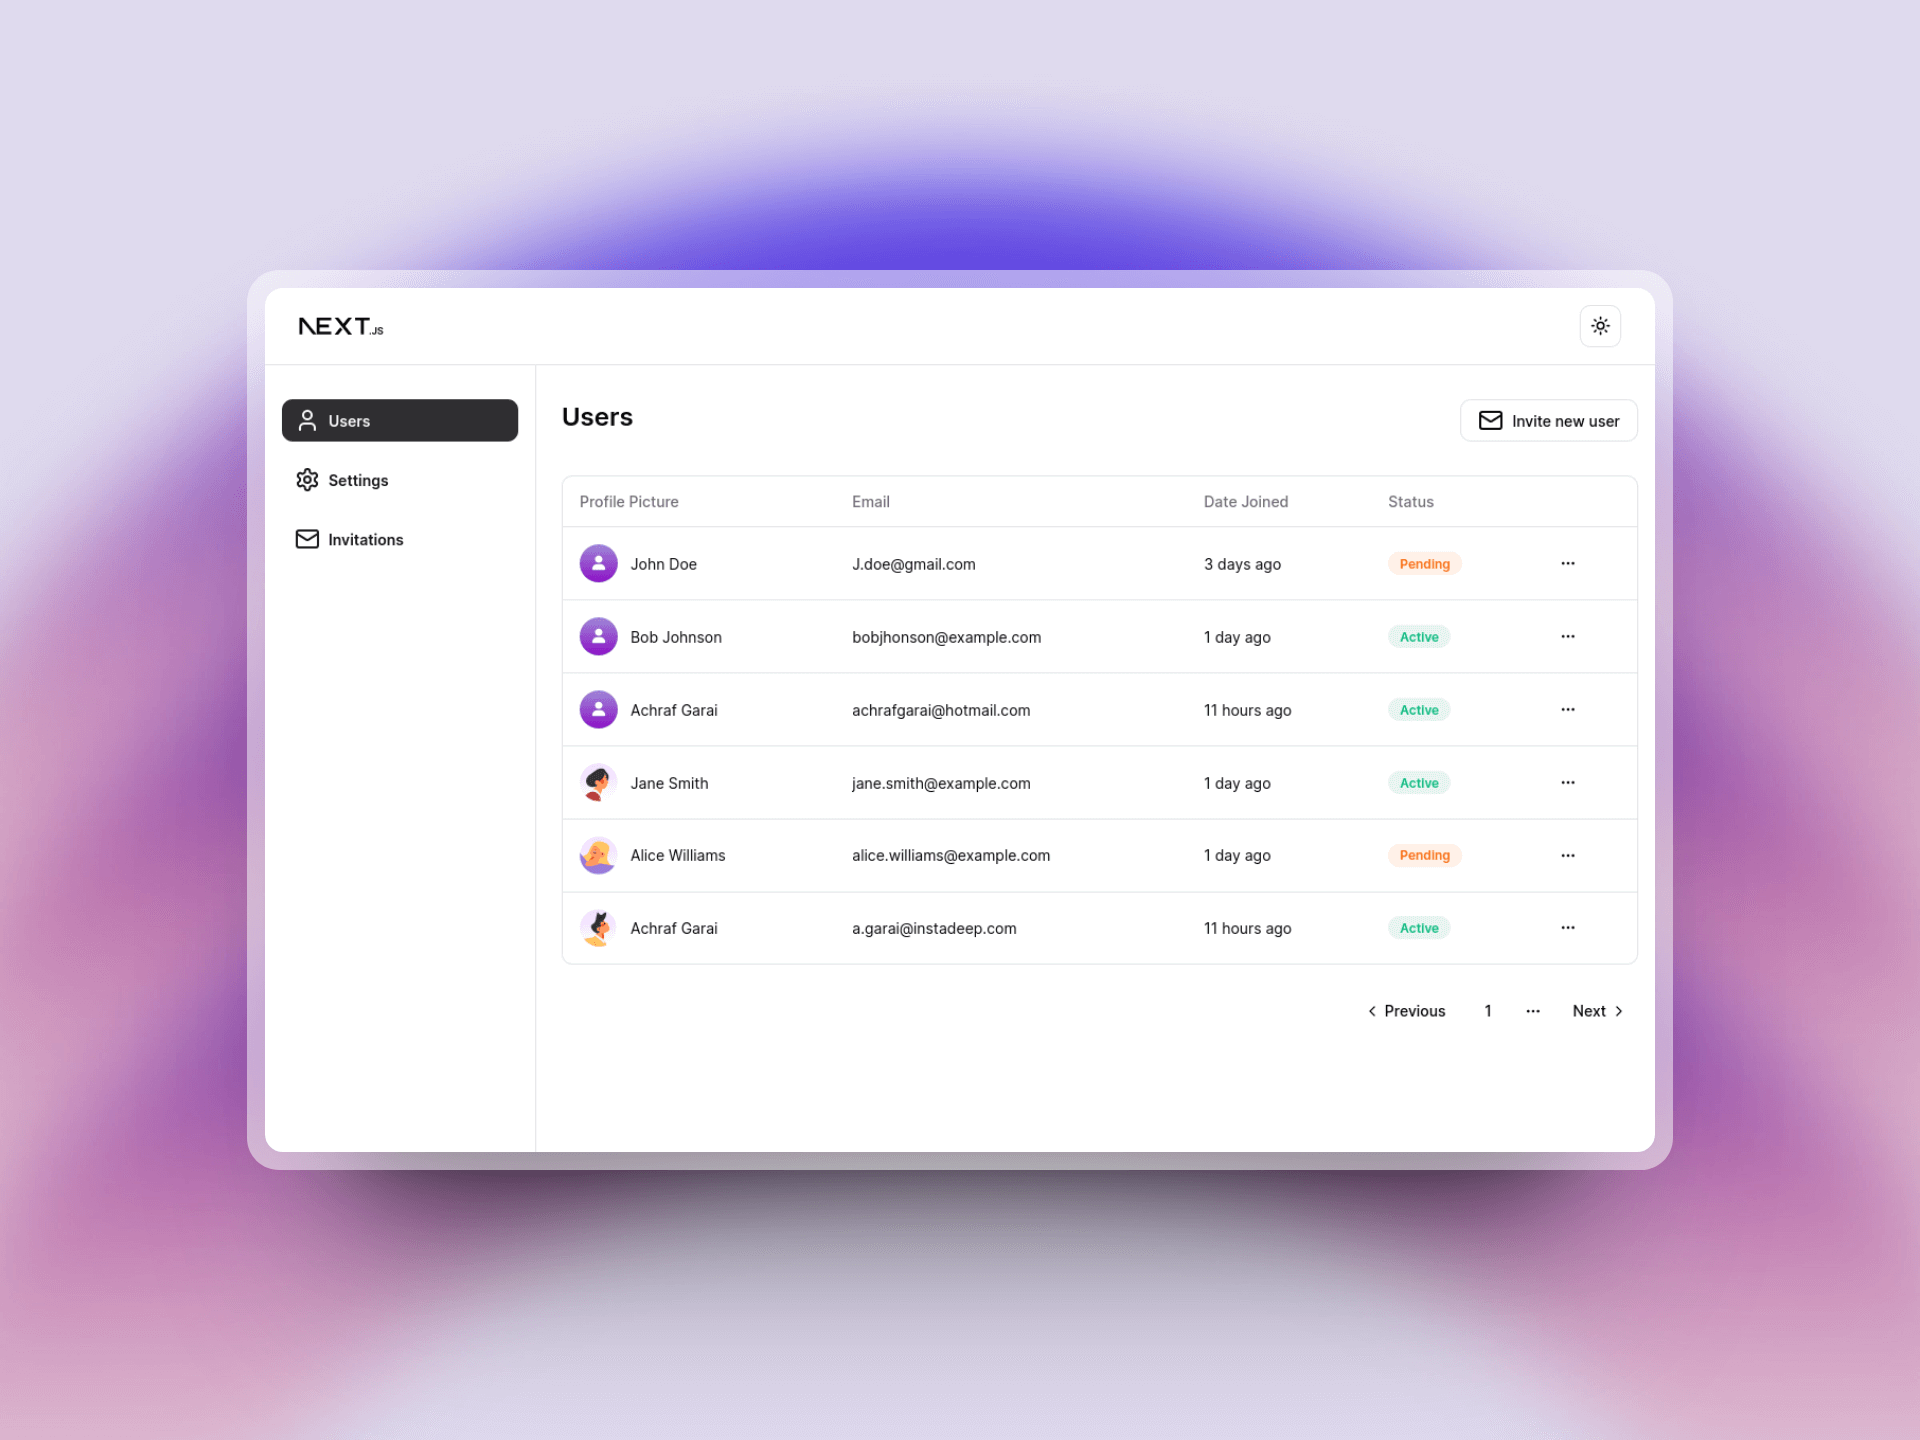
npx shadcn-ui@latest add buttonCreate the user table
Following ShadcnUI's data table guidelines, integrate a simple data table. Define the structure of the user table by specifying columns:
export const columns: ColumnDef<User>[] = [
	{
		accessorKey: "avatar",
		header: "Profile Picture",
		cell: ({ row }) => (
			<div className="flex gap-3 items-center">
				<Image
					src={row.original.avatar || ""}
					width={36}
					height={36}
					alt={""}
				/>
				<div>
					<span>{`${row.original.firstName} ${row.original.lastName}`}</span>
				</div>
			</div>
		),
	},
	{
		accessorKey: "email",
		header: "Email",
	},
	{
		accessorKey: "createdAt",
		header: "Date Joined",

		cell: (row) => {
			return <TimeAgo date={row.getValue() as string | Date} />;
		},
	},
];
After defining the columns, proceed to render the data table and supply it with the columns as props:
<main>
  <div className="flex gap-2  mb-8">
  <span className="text-2xl font-semibold flex-grow">Users</span>
  <NewUserDialogue />
</div>
  <DataTable columns={columns} data={res} />
  <PaginateTable />
</main>
Invite user
For implementing user invitations, the dialog component from ShadcnUI proves instrumental. The following code illustrates the integration of this dialog for user invitation:
<Dialog open={isOpen} onOpenChange={() => setIsOpen(!isOpen)}>
	<DialogTrigger
		className={cn(buttonVariants({ variant: "outline" }), " gap-2")}>
		<Mail /> Invite new user
	</DialogTrigger>
		<DialogContent>
			<DialogHeader>
				<DialogTitle>Invite a new user</DialogTitle>
				<DialogDescription>
    				Fill in the user details and send an e-mail invitation.
				</DialogDescription>
				<Separator />
		<NewUserForm onFormSubmit={() => setIsOpen(!isOpen)} />
		</DialogHeader>
	</DialogContent>
</Dialog>
Within the dialog content, a form is rendered to collect user details. The NewUserForm component utilizes the react-hook-form library for client-side validation, ensuring a smooth and error-free user input experience. Upon form submission, the onFormSubmit callback is triggered, closing the dialog and initiating the invitation process.
<form
	onSubmit={onFormSubmit}
	action={inviteUser}
	className="space-y-8"
	>
	<FormField
      	control={form.control}
    	name="email"
    	render={({ field }) => (
    	<FormItem>
        <FormLabel>E-mail Address</FormLabel>
        <FormControl>
          <Input placeholder="Your email address" {...field} />
        </FormControl>
    	<FormDescription>
            An email invitation will be sent to the following address to complete the registration
    	</FormDescription>
        <FormMessage />
    	</FormItem>
		)}
	/>
	<Button type="submit" disabled={!isValid || pending}>
    	Submit
    </Button>
</form>
In the server action (inviteUser), the form submission is processed to extract the user email:
const validatedFields = inviteUserSchema.safeParse({
	email: formData.get("email"),
});
// Return early if the form data is invalid
if (!validatedFields.success) {
	return {
		errors: validatedFields.error.flatten().fieldErrors,
	};
}
const { data } = validatedFields;
Building the invitation email
To compose the invitation email with React, the react-email library proves invaluable. Begin by installing the library along with the Tailwind plugin and additional custom components:
npm install react-email @react-email/components @react-email/tailwind -EThe library allow us to preview our emails folder and scan all components and renders them as email using the command.
email devSee an example of a minimal e-mail component.
import { Button, Html } from "@react-email/components";
import * as React from "react";

export default function Email() {
  return (
    <Html>
      <Button
        href="https://example.com"
        style={{ background: "#000", color: "#fff", padding: "12px 20px" }}
      >
        Click me
      </Button>
    </Html>
  );
}
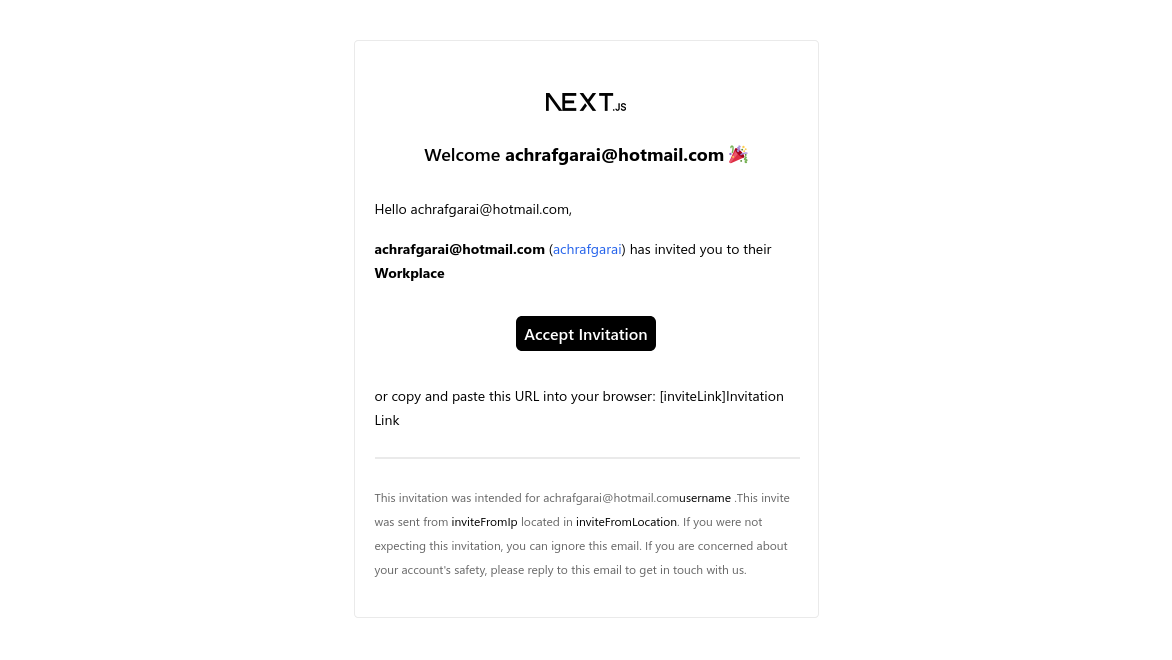
Here's the full code of the email invitation that is built with tailwind
<Html>
	<Head />
	<Preview>{previewText}</Preview>
	<Tailwind>
		<Body className="bg-white my-auto mx-auto font-sans">
			<Container className="border border-solid border-[#eaeaea] rounded my-[40px] mx-auto p-[20px] w-[465px]">
				<Section className="mt-[32px]">
					<Img
						src={
							"https://upload.wikimedia.org/wikipedia/commons/thumb/8/8e/Nextjs-logo.svg/394px-Nextjs-logo.svg.png?20230404233503"
						}
						width="80"
						height="18"
						alt="Vercel"
						className="my-0 mx-auto"
					/>
				</Section>
				<Heading className="text-black text-[18px] font-semibold text-center p-0 my-[30px] mx-0">
					Welcome <strong>{user}</strong> 🎉
				</Heading>
				<Text className="text-black text-[14px] leading-[24px]">
					Hello {user},
				</Text>
				<Text className="text-black text-[14px] leading-[24px]">
					<strong>{user}</strong> (
					<Link
						href={`mailto:${invitedByEmail}`}
						className="text-blue-600 no-underline"
					>
						{invitedByEmail}
					</Link>
					) has invited you to their <strong>{"Workplace"}</strong>
				</Text>
				<Section className="text-center mt-[32px] mb-[32px]">
					<Button
						className="bg-[#000000] text-white text-[16px] rounded-md font-semibold no-underline text-center p-2"
						href={invitation}
					>
						Accept Invitation
					</Button>
				</Section>
				<Text className="text-black text-[14px] leading-[24px]">
					or copy and paste this URL into your browser:{" "}
					<Link href={"inviteLink"} className="text-blue-600 no-underline">
						Invitation Link
					</Link>
				</Text>
				<Hr className="border border-solid border-[#eaeaea] my-[26px] mx-0 w-full" />
				<Text className="text-[#666666] text-[12px] leading-[24px]">
					This invitation was intended for {user}
					<span className="text-black">{"username"} </span>.This invite was
					sent from <span className="text-black">{"inviteFromIp"}</span>{" "}
					located in{" "}
					<span className="text-black">{"inviteFromLocation"}</span>. If you
					were not expecting this invitation, you can ignore this email. If
					you are concerned about your account's safety, please reply to
					this email to get in touch with us.
				</Text>
			</Container>
		</Body>
	</Tailwind>
</Html>;
Construct secure invitation token
Now that we've established the email template, the next step is to create a secure invitation token by signing a JSON Web Token (JWT). This token will be verified on the server to ensure the authenticity of the invitation.
export function signJwt(email: string) {
  // Include additional data in the token payload if needed
  const payload = { email };

  // Generate a token with a 1-day expiration time, encrypted with a secret key
  const token = jwt.sign(payload, secretKey, {
    algorithm: "HS256",
    expiresIn: "1d",
  });

  return { token };
}
In this function, a JWT is signed with the user's email as part of the payload, and the token is returned.
Sending the invitation with resend
The email sending process is streamlined with Resend, a service simplifying email management. Start by installing the Resend library:
npm install resend
Now, construct the invitation link and utilize Resend to send the email with the desired options:
// Sign jwt
const { token } = signJwt(data.email);
const invitationLink = `https://localhost:3000/users/register?token=${token}`;

// Send email invitation to users
try {
  await resend.emails.send({
    from: "Acme <onboarding@resend.dev>",
    to: [data.email],
    subject: "You have been invited to join a workspace (from action)",
    text: "",
    react: InvitationEmail({
      user: data.email,
      invitation: invitationLink,
      invitedByEmail: "achrafgarai",
    }),
  });

  // Mutate data: Insert a pending invitation into the database
  await db
    .insert(users)
    .values({
      firstName: "",
      lastName: "",
      email: data.email,
      status: "pending",
    })
    .onConflictDoNothing();
}
This snippet demonstrates the signing of the JWT, creating the invitation link, sending the email, and inserting a pending invitation into the database.
And there we have our email.
Validating the invitation from the server
To validate the invitation, use a function that verifies the extracted token from the invitation email:
export function verifyJwt(token: string) {
  try {
    const decoded = (jwt.verify(token, secretKey) as { email: string }) || null;
    return decoded;
  } catch (err) {
    if (err instanceof jwt.TokenExpiredError) {
      throw new Error("Token has expired");
    }
  }
}
Within the registration route, extract and verify the token. If the token is invalid, display an error:
async function Page({ searchParams }: Props) {
  const { token } = searchParams;
  if (!token) {
    return (
      <Banner
        title="Token is not valid"
        subTitle="Make sure you are clicking the invitation link from your email"
      />
    );
  }
}
Finally, render a complete registration form where users can fill in their details:
<div>
	<h1 className=" text-2xl font-semibold mb-2">Welcome, {email}.</h1>
	<p className=" text-sm opacity-50  mb-4">
		Make sure to finish your account.
	</p>
	<Separator className=" my-8" />
	<RegisterUserForm email={email} />
</div>
From the server action, update the user information in the database. Additionally, send a final confirmation email to the user:
<form className="space-y-8" action={createUser}>
	<div className=" grid grid-cols-2 gap-4">
		<FormField
			control={form.control}
			name="firstName"
			render={({ field }) => (
				<FormItem>
					<FormLabel>First Name</FormLabel>
					<FormControl>
						<Input {...field} placeholder="Your Frist Name" />
					</FormControl>
					<FormMessage />
				</FormItem>
			)}
		/>
From the server action, I update the user information to the database. Finally, I send a final email to the user to confirm the account creation.
// Mutate data
await db
	.update(users)
	.set({ ...data, status: "active" })
	.where(eq(users.email, data.email));

await resend.emails.send({
	from: "Acme <onboarding@resend.dev>",
	to: [data.email],
	subject: "You have successfully set up your account",
	text: "",
	react: CreateEmail({
		user: data.email,
		invitation: "",
	}),
});
redirect("/");
Final thoughts
This tutorial comprehensively covered the process of building a user management app with Next.js, Drizzle ORM, and React-email. The entire codebase is available on GitHub for free, as always.