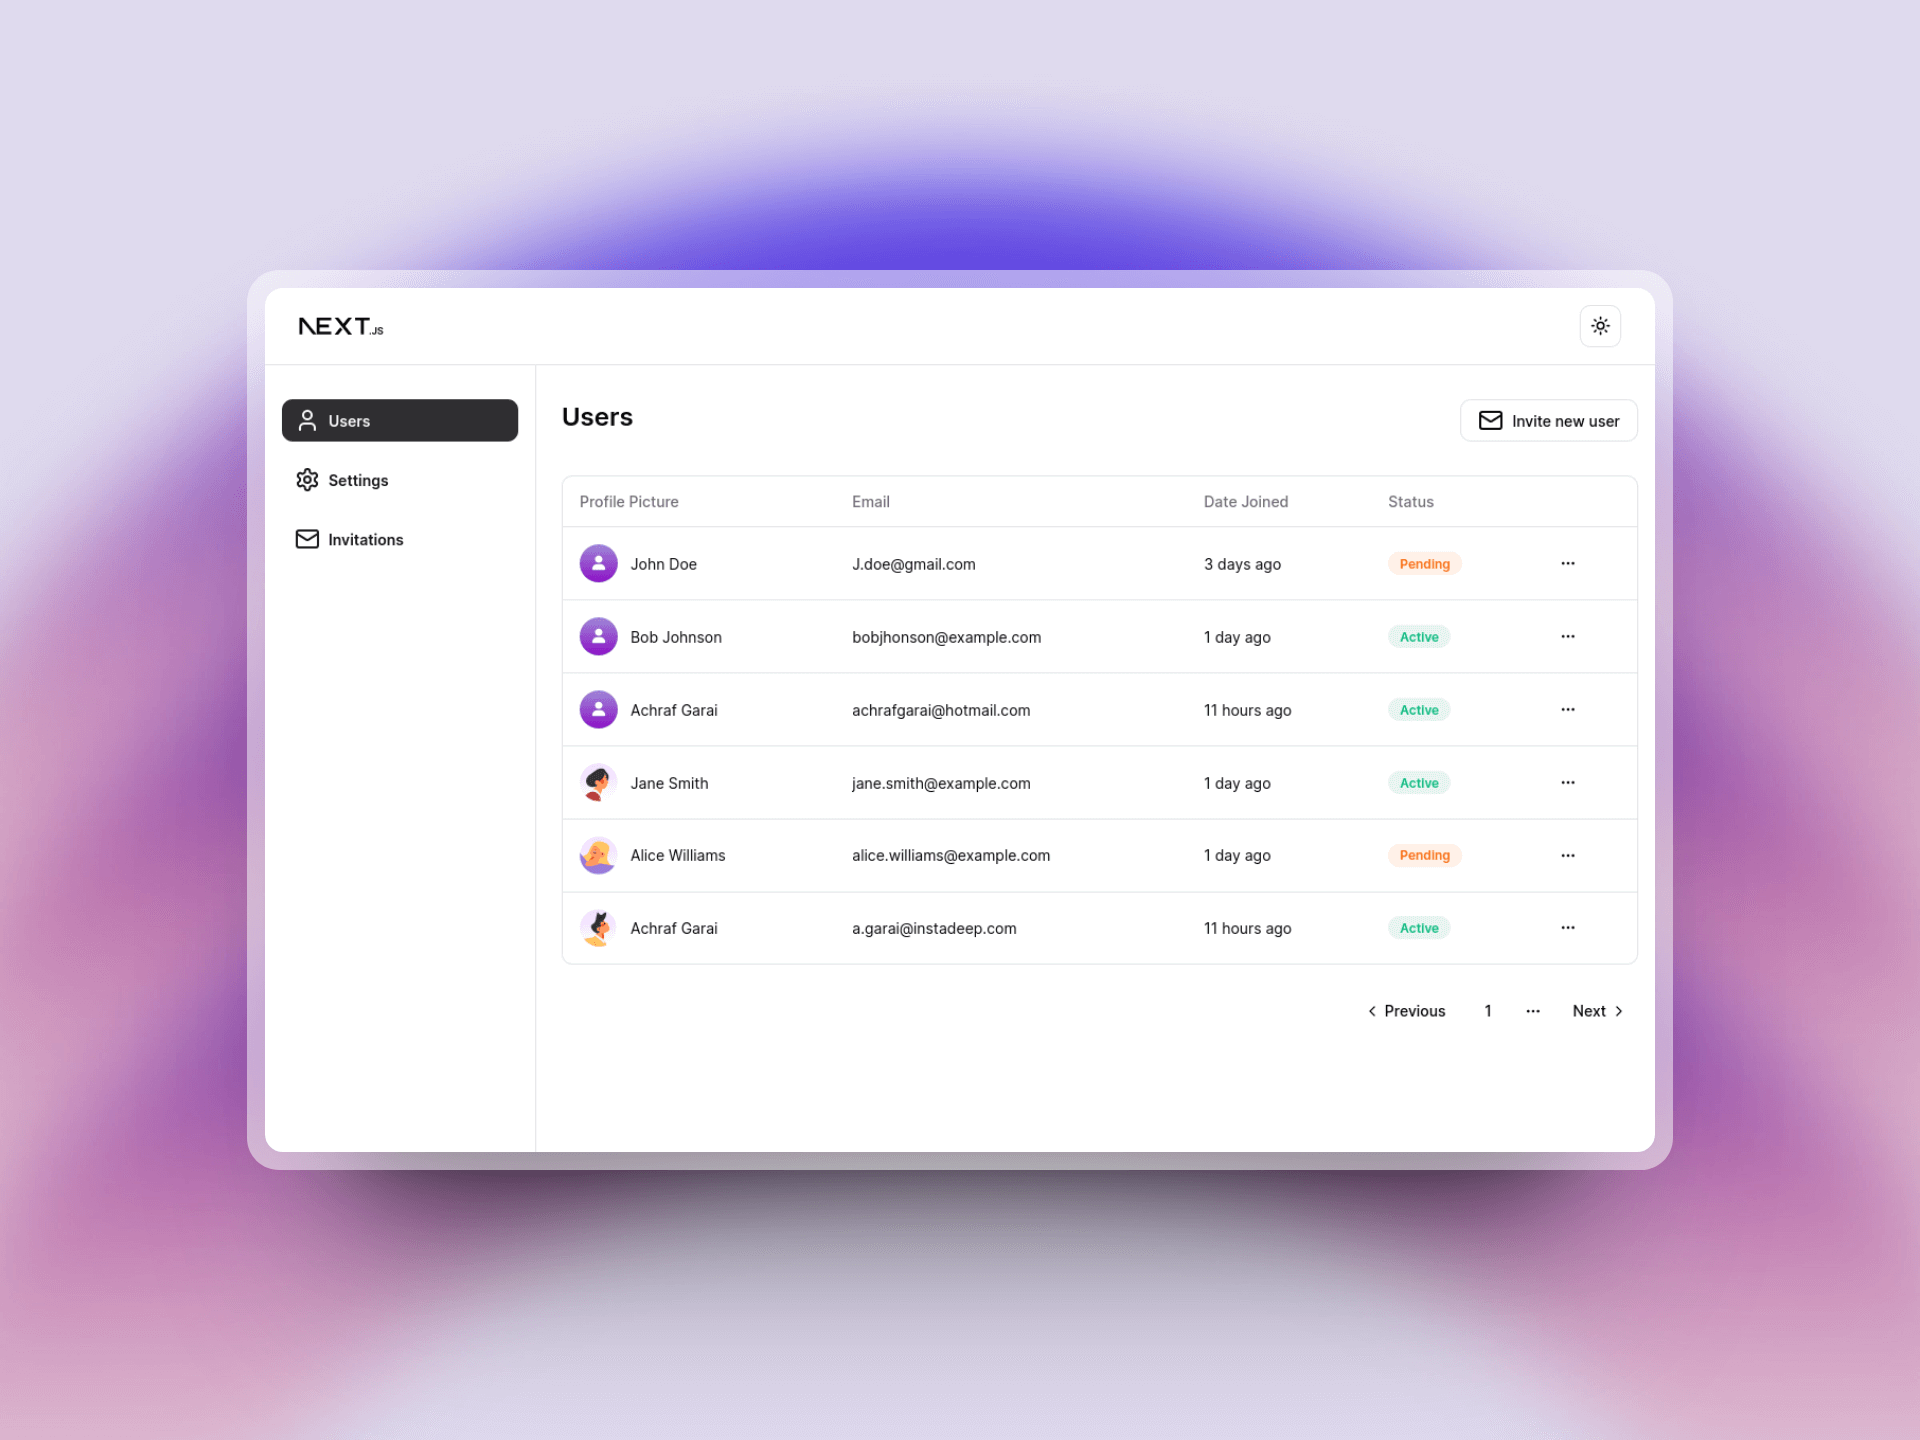
Building the Epic games store with NextJS, Drizzle ORM, NeonDB, TailwindCSS
In this multi-part blog series where we'll dive deep into the process of building a web application similar to the Epic Games Store. Our aim here is to focus on the technical aspects and provide a practical learning experience.
In this multipart blog, we'll dive deep into the process of building a web application similar to the Epic Games Store. Our aim here is to focus on the technical aspects and provide a practical learning experience.
Throughout this tutorial, we will be utilizing several technologies to create a feature-rich online store. We'll use Next.js as the full stack frameworks, Drizzle ORM to manage our database, NeonDB as our serverless Postgres database, and Tailwind CSS for styling.
Our goal is to not only create a functional application, but to understand the inner workings of each component. Whether you're an experienced developer or a beginner, this series will provide valuable insights into web development best practices.
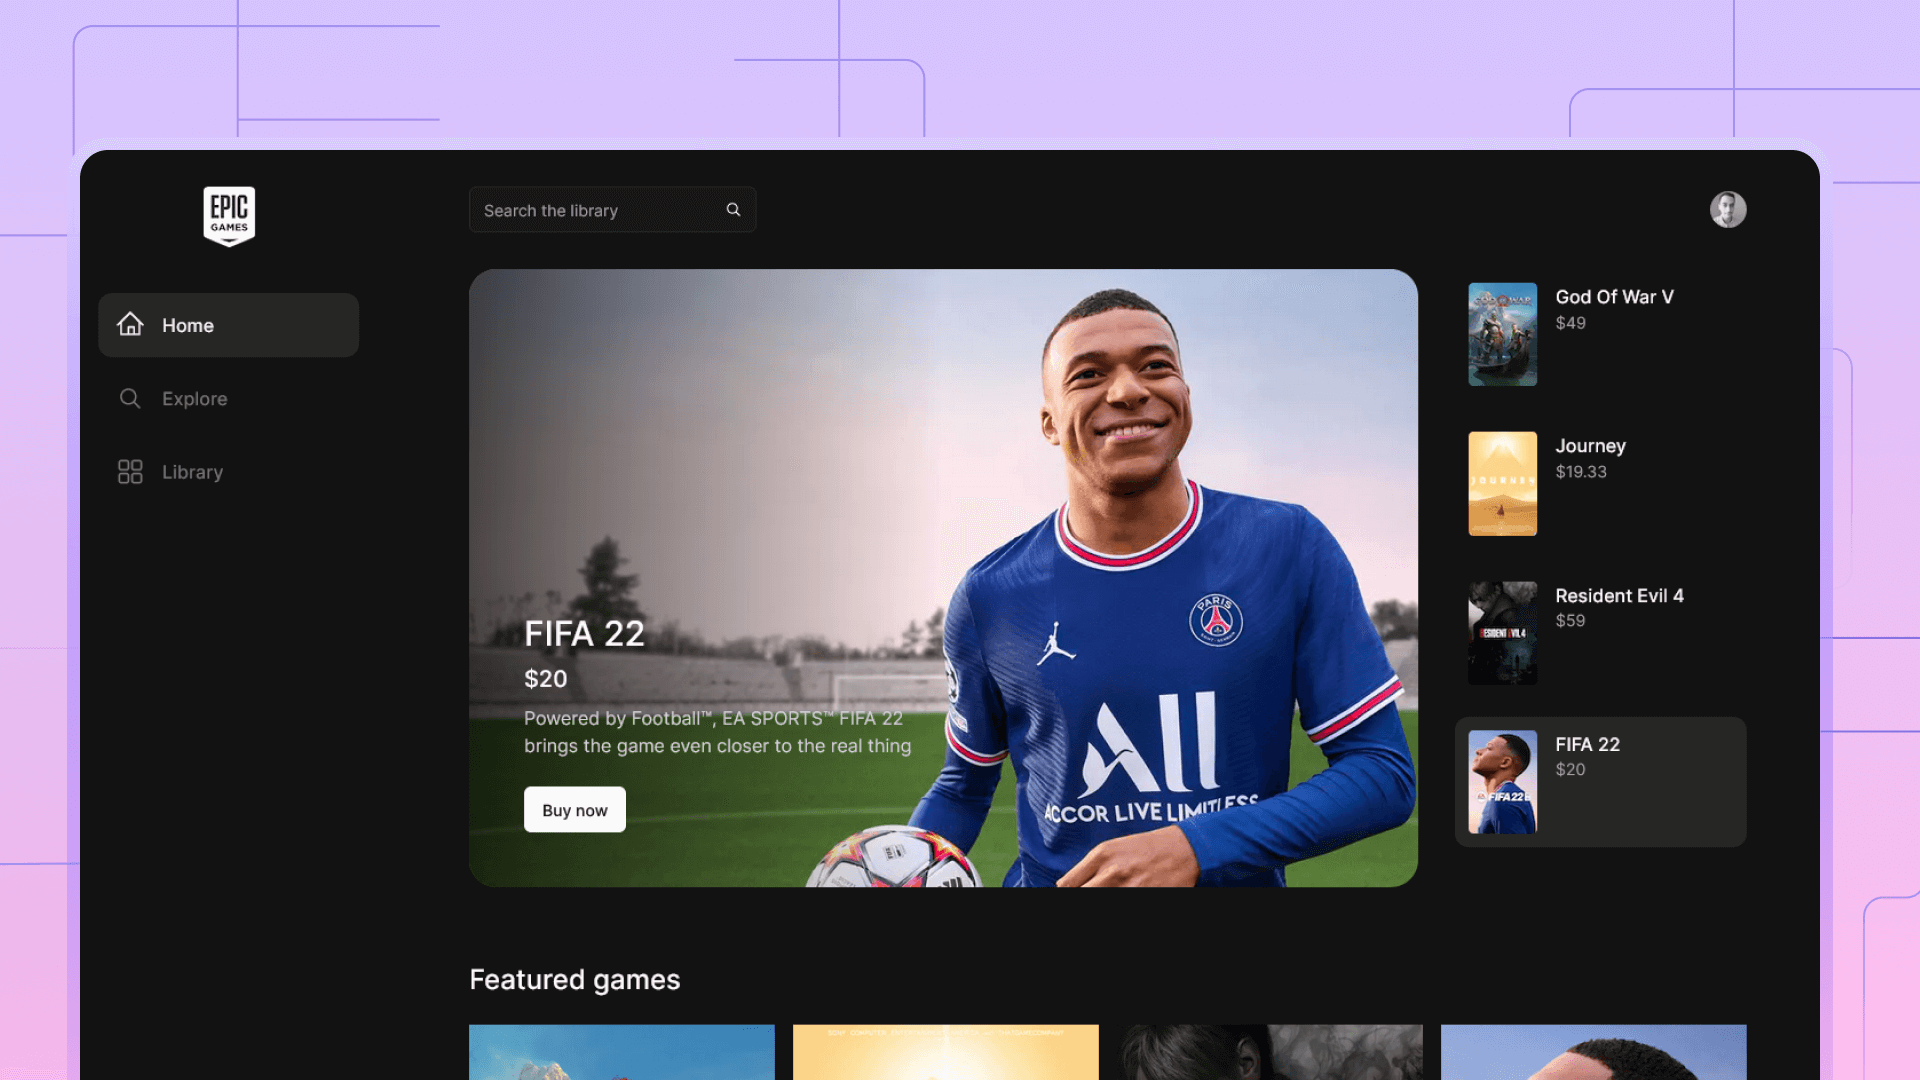
You can access the repository for this project on GitHub below to follow along and explore the code. We encourage you to contribute to the project and learn by doing. You can also access the fully functioning Epic Games Store app here to see the end result of our efforts.
Project set-up
Begin by initializing a Next.js project using the command npx create-next-app my-app. This will set up the foundation for your application.
Choose the option to use Tailwind CSS and react components, this with automatically set up the project to work with them.
First, run the development server using
npm run devthen install the project dependencies here's the package.json file that shows all the dependencies used for the app.
  "dependencies": {
    "@clerk/nextjs": "^4.23.5",
    "@clerk/themes": "^1.7.5",
    "@neondatabase/serverless": "^0.6.0",
    "@radix-ui/react-accordion": "^1.1.2",
    "@radix-ui/react-aspect-ratio": "^1.0.3",
    "@radix-ui/react-checkbox": "^1.0.4",
    "@radix-ui/react-dialog": "^1.0.5",
    "@radix-ui/react-dropdown-menu": "^2.0.5",
    "@radix-ui/react-icons": "^1.3.0",
    "@radix-ui/react-label": "^2.0.2",
    "@radix-ui/react-radio-group": "^1.1.3",
    "@radix-ui/react-scroll-area": "^1.0.5",
    "@radix-ui/react-separator": "^1.0.3",
    "@radix-ui/react-slot": "^1.0.2",
    "@radix-ui/react-toggle": "^1.0.3",
    "@radix-ui/react-toggle-group": "^1.0.4",
    "@types/node": "20.5.9",
    "@types/react": "18.2.21",
    "autoprefixer": "10.4.15",
    "class-variance-authority": "^0.7.0",
    "clsx": "^2.0.0",
    "dotenv": "^16.3.1",
    "drizzle-orm": "^0.28.5",
    "eslint": "8.48.0",
    "eslint-config-next": "13.4.19",
    "lucide-react": "^0.279.0",
    "next": "13.5.2",
    "pg": "^8.11.3",
    "postcss": "8.4.29",
    "postgres": "^3.3.5",
    "react": "18.2.0",
    "stripe": "^13.6.0",
    "svix": "^1.11.0",
    "tailwind-merge": "^1.14.0",
    "tailwindcss": "3.3.3",
    "tailwindcss-animate": "^1.0.7",
    "typescript": "5.2.2",
    "use-debounce": "^9.0.4",
    "zod": "^3.22.2"
  },
  "devDependencies": {
    "drizzle-kit": "^0.19.13"
  }
Tutorials
- Part 1: Server side user authentication with Next.js and clerk
- Part 2: Database schema and connecting to NeonDB with Drizzle
- Part 3: Implementing the backend functions to fetch data
- Part 4: Payment flow with Stripe and webhooks
- Part 5: Create a search functionality
Authentication
For authentication Clerk provides a simple and easy to set up solution for managing authentication for your users.
To set up clerk first thing to do is to install the Clerk NPM package.
npx create-next-appOn the clerk side, head to their website, create a new project and copy the secrets in your .env.local file.
NEXT_PUBLIC_CLERK_PUBLISHABLE_KEY=your_publishable_key
CLERK_SECRET_KEY=sk_test_••••••••••••••••••••••••••••••••••Next, we need to wrap our app with the clerk provider
import { ClerkProvider } from '@clerk/nextjs'

export const metadata = {
  title: 'Next.js 13 with Clerk',
}

export default function RootLayout({
  children,
}: {
  children: React.ReactNode
}) {
  return (
    <ClerkProvider>
      <html lang="en">
        <body>{children}</body>
      </html>
    </ClerkProvider>
  )
}
Finally, we need to protect our routes with the auth middleware from Clerk. All we need to do is to create a middleware.tsx and return the following function
import { authMiddleware } from "@clerk/nextjs";

export default authMiddleware({});

export const config = {
      matcher: ['/((?!.+\\.[\\w]+$|_next).*)', '/', '/(api|trpc)(.*)'],
};
This makes all the project routes protected and only accessible for authenticated users.
Clerk provides us with pre-build authentication pages, all you need to do is to create the routes
app/sign-up/[[...sign-up]]/page.tsx
import { SignUp } from "@clerk/nextjs";

export default function Page() {
  return <SignUp />;
}
app/sign-in/[[...sign-in]]/page.tsx
import { SignIn } from "@clerk/nextjs";

export default function Page() {
  return <SignIn />;
}
Database schema and connecting to NeonDB with Drizzle
The next step is to install the project dependencies that include drizzle and the NeonDB serverless driver.
npm i drizzle-orm @neondatabase/serverless
npm i -D drizzle-kit
As an optional step, we can configure our package.json file to easily run our migrations and to quickly launch the drizzle studio using the following commands
- npm run db:push
- npm run db:generate
- npm run db:studio
  "scripts": {
    "db:push": "drizzle-kit push:pg",
    "db:studio": "drizzle-kit studio",
    "db:generate": "drizzle-kit generate:pg",
    "dev": "next dev",
    "build": "next build",
    "start": "next start",
    "lint": "next lint"
  }
Connecting to NeonDB
To connect to our database, we first need to head to NeonDB's website and create a free account, this gives you access to a Postgres database. All we need from the dashboard is to copy the connection string and use it in our .env.local file.
Below is an example for how our .env file may look like.

DRIZZLE_DATABASE_URL=

DB_HOST=
DB_USER=
DB_PASSWORD=
DB_DATABASE=
Next step is to create a configuration for drizzle to specify our schema location and some other parameters
import { Config } from "drizzle-kit";
import dotenv from "dotenv";

dotenv.config({ path: ".env.local" });

export default {
  schema: "./src/db/**/schema.ts",
  out: "./drizzle",
  driver: "pg",
  dbCredentials: {
    host: process.env.DB_HOST!,
    user: process.env.DB_USER!,
    password: process.env.DB_PASSWORD!,
    database: process.env.DB_DATABASE!,
    ssl: true,
  },
} satisfies Config;
And for the final step we initialize our client, to do this lets create a db folder and inside index.ts we add the following code.
In my example I have a schema in my /user/schema.ts, this approach allows us to add a schema file for each entity.
import { neon, neonConfig } from '@neondatabase/serverless'
import { drizzle } from 'drizzle-orm/neon-http'
import * as userSchema from './user/schema'


neonConfig.fetchConnectionCache = true

const schema = {
  ...userSchema,
}
const sql = neon(process.env.DRIZZLE_DATABASE_URL!)
const db = drizzle(sql, { schema })

export { db }
Creating the users entity
Entities represent the tables that we're going to have in our database, we create a users table with Drizzle ORM by exporting a pgTable function that takes the name of the table and an object containing its attributes.
export const users = pgTable('users', {
  id: serial('id').primaryKey(),
  authId: varchar('auth_id', { length: 256 }),
  email: varchar('email', { length: 256 }),
  profilePictureUrl: varchar('profile_picture_url', { length: 256 }),
  username: varchar('username', { length: 256 }),
  firstName: varchar('first_name', { length: 256 }),
  LastName: varchar('last_name', { length: 256 }),
  createdAt: timestamp('created_at', { mode: 'date' }).defaultNow(),
})
To apply the changes to our schema, all we need to do is to run the scripts
- npm run db:generate
- npm run db:push
Generating types
Drizzle autogenerates typescript types from tables we can do this by inferring the user type
export type User = typeof users.$inferSelect
export type CreateUser = typeof users.$inferInsert
One-to-many relationships
Relationships play a crucial role in relational databases, enabling us to establish connections between data by referencing related information from different tables. A one-to-many relationship is established when a record in one table can reference one and only one record from another table. In our example, we have a Media table that references a Games table, which means that each media entry can be linked to only one game. To implement this, we create a foreign key in the Media table and define a one-to-many relationship.
export const media = pgTable("media", {
  id: serial("media_id").primaryKey().notNull(),
  mediaUrl: varchar("media_url", { length: 256 }).notNull(),
  createdAt: timestamp("created_at", { mode: "date" }).defaultNow(),
  mediaType: mediaType("media_type"),
  gameId: integer("game_id").references(() => games.id),
});

export const mediaRelations = relations(media, ({ one }) => ({
  gameId: one(games, {
    fields: [media.gameId],
    references: [games.id],
  }),
}));
Many-to-many relationships
Much like the previous example, many-to-many relationships operate similarly to one-to-many relationships but with a subtle distinction. Instead of directly connecting tables, we introduce an intermediary or "join" table that stores a record for each relationship between media and games.
In this scenario, when multiple media items can be associated with multiple games, it's impractical to establish direct links between the two tables. Therefore, we employ a bridge table, often referred to as a junction table, which acts as an intermediary, recording these many-to-many associations. This junction table contains entries that specify which media is connected to which games, allowing for a flexible and versatile way to manage complex relationships between data entities. This approach is particularly useful in scenarios like tracking which users have access to various courses, or which products are available in multiple stores. The many-to-many relationship, with its bridge table, provides an elegant solution for modeling these intricate connections.
export const categoriesRelations = relations(categories, ({ many }) => ({
  games: many(gamesToCategories),
}));

export const gamesToCategories = pgTable(
  "games_to_categories",
  {
    gameId: integer("game_id")
      .notNull()
      .references(() => games.id),
    categoryId: integer("category_id")
      .notNull()
      .references(() => categories.id),
  },
  (t) => ({
    pk: primaryKey(t.gameId, t.categoryId),
  })
);
Implementing the backend functions to fetch data
Drizzle ORM and Next.js are a potent pairing that offers a robust approach to server-side data querying. This blog is your guide to understanding and mastering the art of data retrieval using these technologies.
Whether you're a seasoned developer or just starting your journey, this blog will unravel the intricacies of data querying with Drizzle ORM and Next.js. We'll dive deep into concepts, best practices, and practical examples to equip you with the knowledge you need to harness your data effectively.
Starting
Kicking off from the end of the previous tutorial, we have by now successfully set up a connection, a schema for our Neon database along with the Drizzle client.
neonConfig.fetchConnectionCache = true

const schema = {
  ...userSchema,
  ...gameSchema,
  ...platfomsSchema,
  ...mediaSchema,
}
const sql = neon(process.env.DRIZZLE_DATABASE_URL!)
const db = drizzle(sql, { schema })

export { db }
// const result = await db.select().from(...);
We are now all set to query data on the server using Next.js and our Drizzle client
Data querying with Drizzle
Drizzle closely resembles SQL syntax for data querying. To retrieve data from a table, all you need to do is invoke the select.from function and provide it with the table object as a parameter.
const result = await db.select().from(...);Table select
Just like SQL you can then specify different filters:
await db
	.select()
	.from(games)
	.where(eq(games.id, 10))
Applying pagination
Drizzle offers convenient functions for data pagination, enabling you to control the number of items displayed per page and skip over a specific number of records. To achieve this, you can make use of the limit and offset functions. In our context, the limit corresponds to the page size, defining how many items appear on each page, while the offset signifies the page number, determining where your pagination begins. These functions simplify the process of breaking down large datasets into manageable segments, enhancing the user experience and optimizing data retrieval.
await db
	.select()
	.from(games)
	.where(eq(games.id, 10))
    .limit(10)
    .offset(10)
Selecting related data
The primary way in SQL and drizzle to fetch data that has multiple relations is using joins. However, Drizzle provides a more convenient way to select data using queries.
 db.query.libraryItems.findMany({
          where: eq(libraryItems.userId, user.id),
          with: {
            game: true,
          },
          limit: 10,
          offset: 10,
        })
Using Joins
Another way to query data in drizzle is using joins, this provides more control with nested filters and the overall shape of the data returned.
//Using joins

  const {data} = await db
    .select({ games })
    .from(gamesToCategories)
    .leftJoin(games, eq(gamesToCategories.gameId, games.id))
    .leftJoin(categories, eq(gamesToCategories.categoryId, categories.id))
    .where(and(...conditions))
    .limit(4)
In this instance, our selection is based on the joining table, rather than the games table itself. We perform a join operation that combines both the games and categories tables to retrieve games along with their corresponding categories. This approach allows us to obtain a comprehensive view of games and their associated categories, enhancing the depth of information we can access.
Implement a payment flow with Stripe and webhooks
The primary way to sync Stripe and your backend is to make use of the power of webhooks. Stripe allows us to create webhooks that listen to the events we want to listen to (e.g.: checkout.successful : meaning when a user completes a purchase).
Creating a webhook
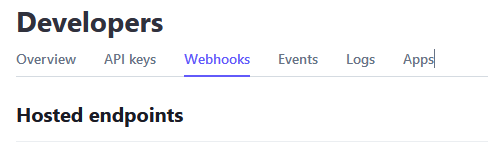
To create a webhook with stripe, we simply navigate to the developers page and select the webhooks tab.
Then we need to create a new endpoint and choose the events we like to listen to from the list of events.
Once you create an event, stripe will ask you to provide an endpoint URL to send the webhook to. If you choose to test the webhooks locally, you can use tools like Ngrok to do that.
The final step is to copy the webhook secret to your .env file so that we use it to create our endpoint.
Creating the webhook endpoint
Listening to the webhooks is as simple as creating an ending that accepts a post request, we will also need the stripe package to make the processing of the event easier. In the Next.js, the code is as follows :
export async function POST(req: Request) {
  const payload = await req.text()
  const signature = req.headers.get('stripe-signature')
  return NextResponse.json({ received: true })
}
The first step is to process the webhook event using the webhook secret
    const webhookSecret = process.env.STRIPE_WEBHOOK_SECRET!

    const event = stripe.webhooks.constructEvent(
      payload,
      signature!,
      webhookSecret,
    )
Finally, we switch the event type and handle each event separately
    switch (event.type) {
      case 'checkout.session.completed':
        // handle payment_intent.succeded
        if (event.type === 'checkout.session.completed') {
        // Handle the event here
        }
        break
      default:
        // other events that we don't handle
        break
    }
The final endpoint code I use the data from the event to update from record in my database taking to register a new order.
// Stripe will give you a webhook secret when setting up webhooks.
// well get this later and add it to the .env.local file when testing
const webhookSecret = process.env.STRIPE_WEBHOOK_SECRET!

export async function POST(req: Request) {
  const payload = await req.text()
  const signature = req.headers.get('stripe-signature')

  try {
    const event = stripe.webhooks.constructEvent(
      payload,
      signature!,
      webhookSecret,
    )
    switch (event.type) {
      case 'checkout.session.completed':
        // handle payment_intent.succeded
        if (event.type === 'checkout.session.completed') {
          try {
            const { client_reference_id } = event.data.object
            const { stripeId, authId } = JSON.parse(client_reference_id)

            if (stripeId && authId) {
              const game = await db.query.games.findFirst({
                where: eq(games.stripeId, stripeId),
                columns: {
                  id: true,
                },
              })
              const user = await db.query.users.findFirst({
                where: eq(users.authId, authId),
                columns: {
                  id: true,
                },
              })
              await db.insert(libraryItems).values({
                gameId: game?.id,
                userId: user?.id,
              })
              return NextResponse.json({ message: 'Registered successfully ' })
            }
          } catch (e) {
            console.log(e)
          }
        }
        break
      default:
        // other events that we don't handle
        break
    }
  } catch (err) {
    if (err instanceof Error) {
      console.error(err.message)
      return NextResponse.json({ message: err.message }, { status: 400 })
    }
  }
  return NextResponse.json({ received: true })
}
Final thoughts
And there you have it, in this post we explored the inner working of Next.js using multiple amazing tools to create a full payment flow from auth, to data fetching all the way to syncing payment processors to our database.